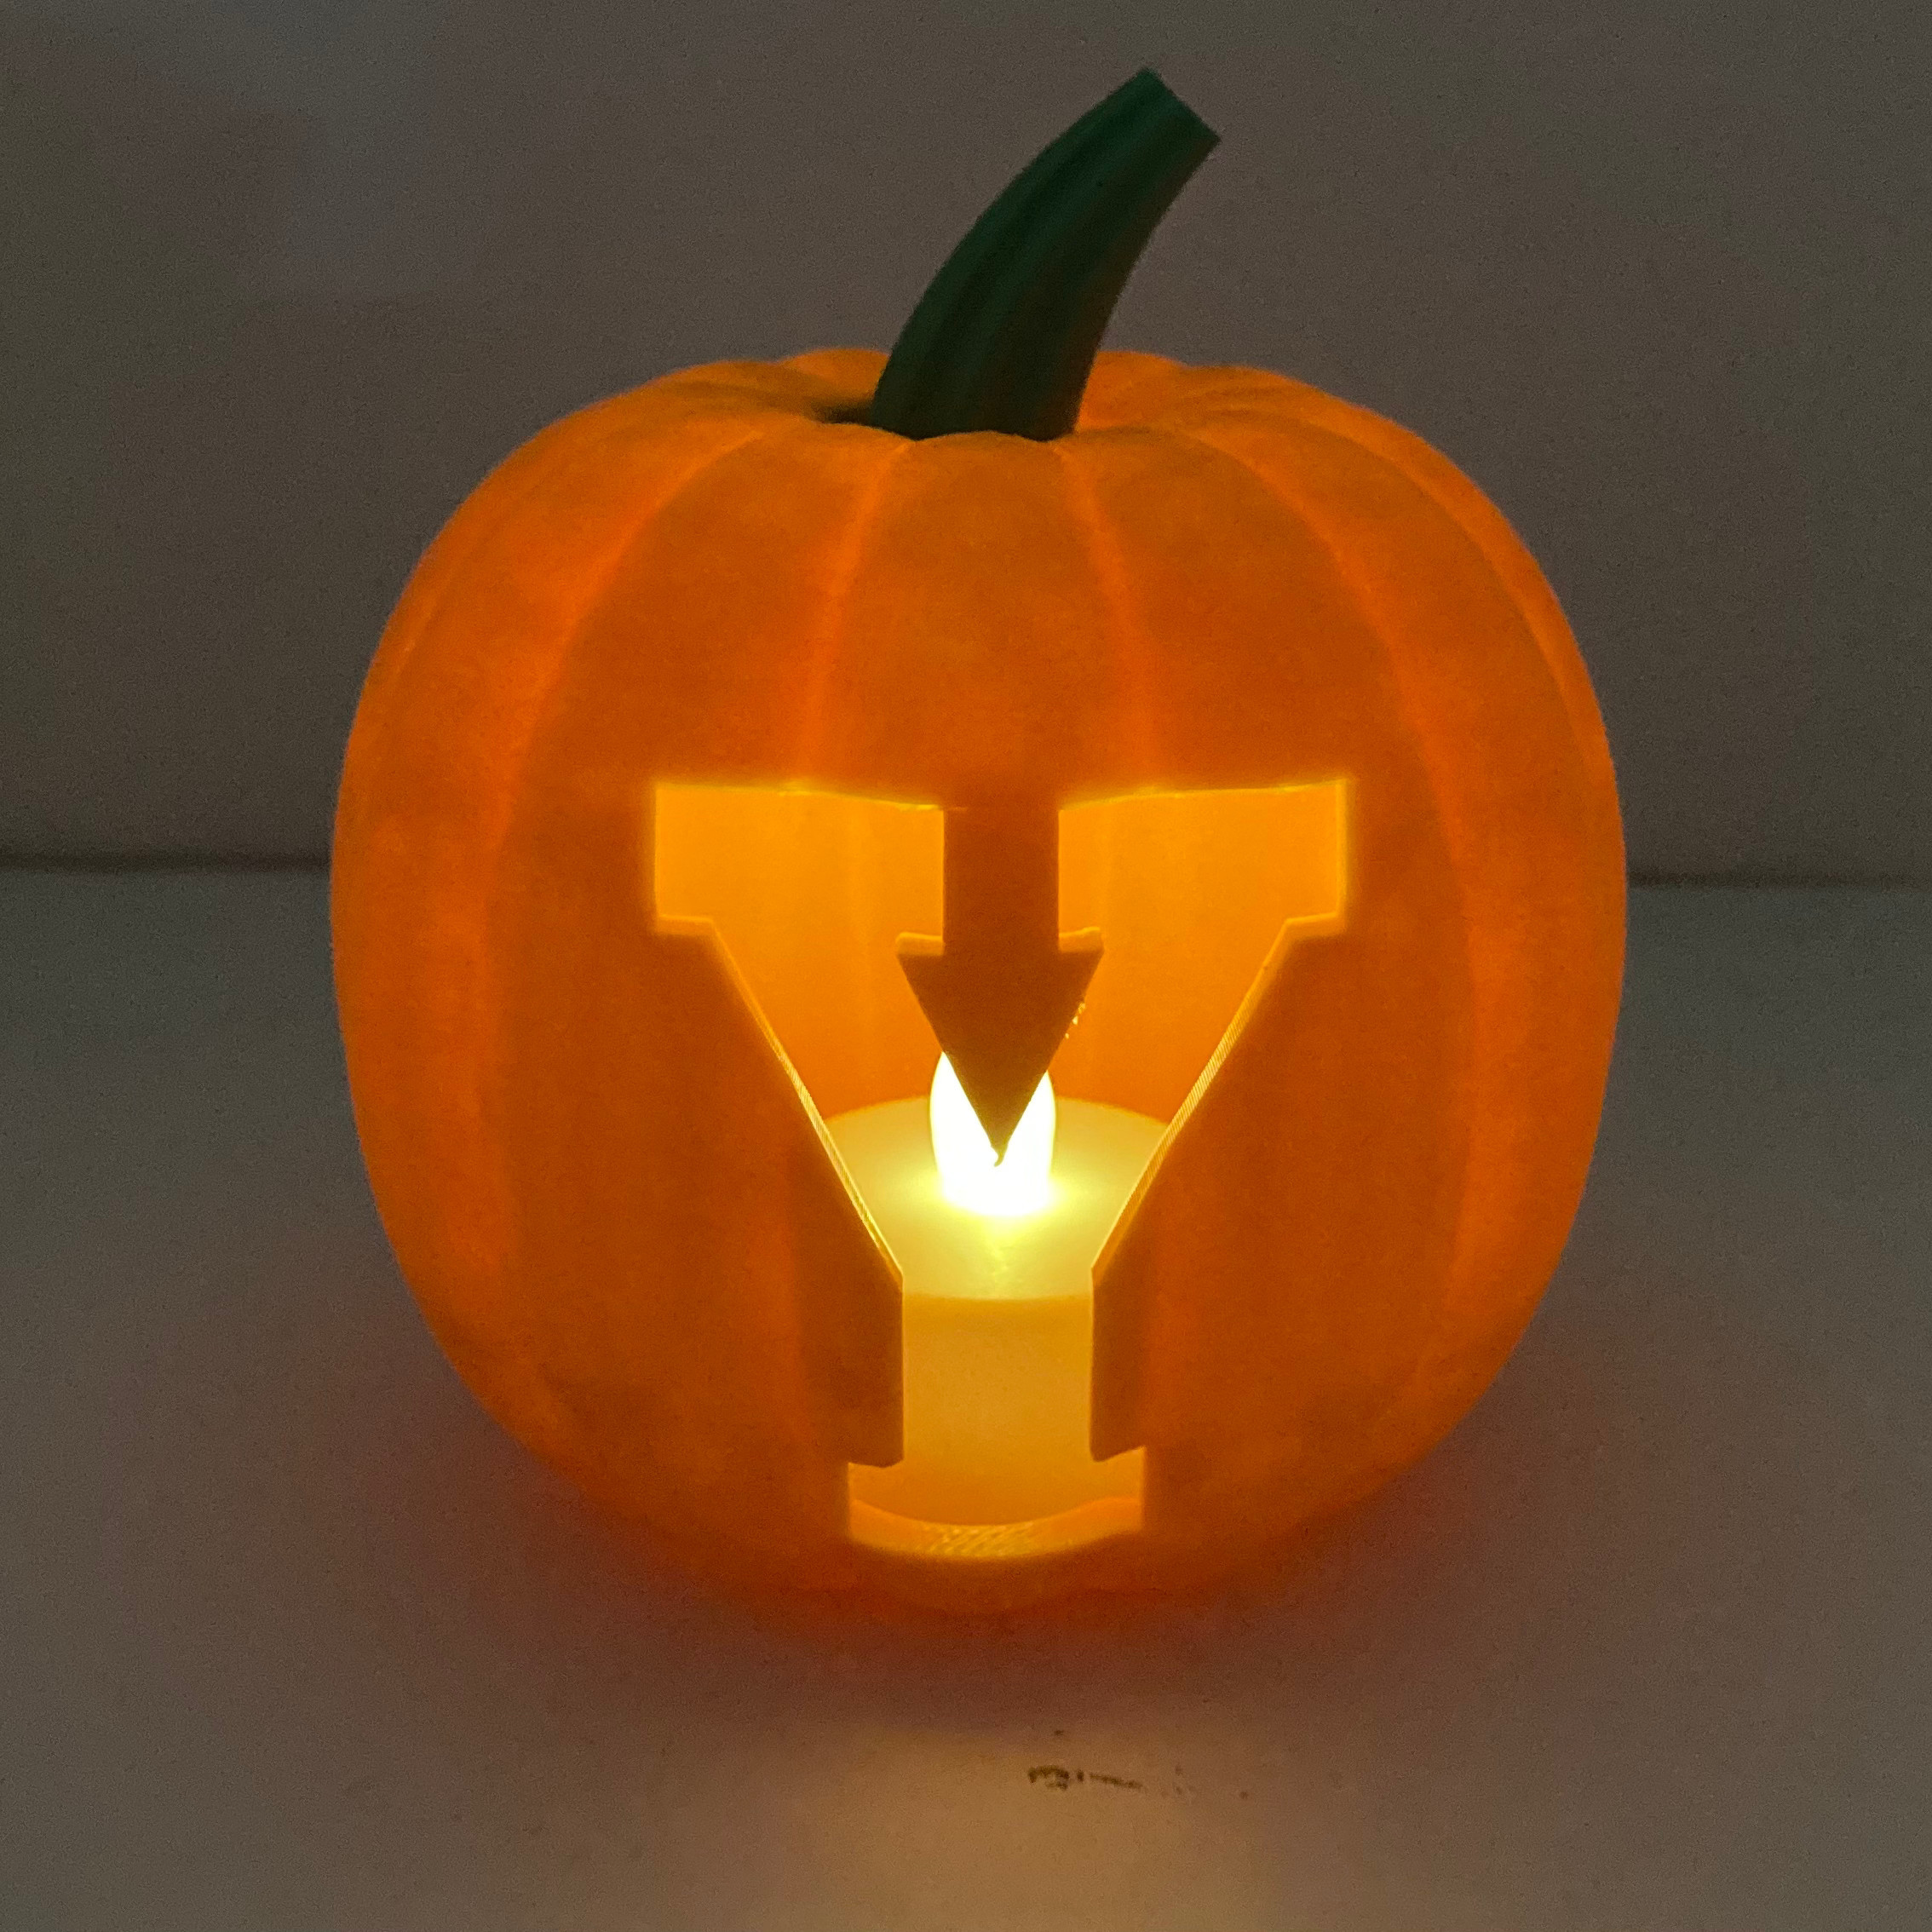
This guide will show you how to carve a pumpkin in TinkerCad for 3D printing. While this guide will present a specific method, there are many different ways to accomplish the same task, so be creative!
Before starting, you may want to check out the example created for this tutorial on TinkerCad or Makerworld. And if you are looking for some inspiration, check out some of the other models people have created in this Makerworld Collection
¶ Step 1: find/create an image to carve into the pumpkin
The first step in carving a pumpkin is determining what you will carve into the pumpkin. There are many ways to go about this, but in the end you need a Scalable Vector Graphic, or SVG file to import into TinkerCad for the carving. This image could be one found online, drawn on a computer with a vector graphics editor like Inkscape, Adobe Illustrator, or Canva, or even by hand. For this tutorial, we will show how to carve a pumpkin with an image found online, like this nice BYU 'Y' logo shown below:

It is important to note that not all images will work well for this. For best results, choose an image that has as few colors as possible, or is effectively a silhouette like this 'Y' logo. Also be careful to avoid images with many small details like the 'TM' in this image with the 'Y' logo. Small details like this can be removed in the next step, but it is best to avoid them when possible. Also, beware of islands of negative space like the holes inside the 'B' in this computer rendering of the other 'BYU' example model below:
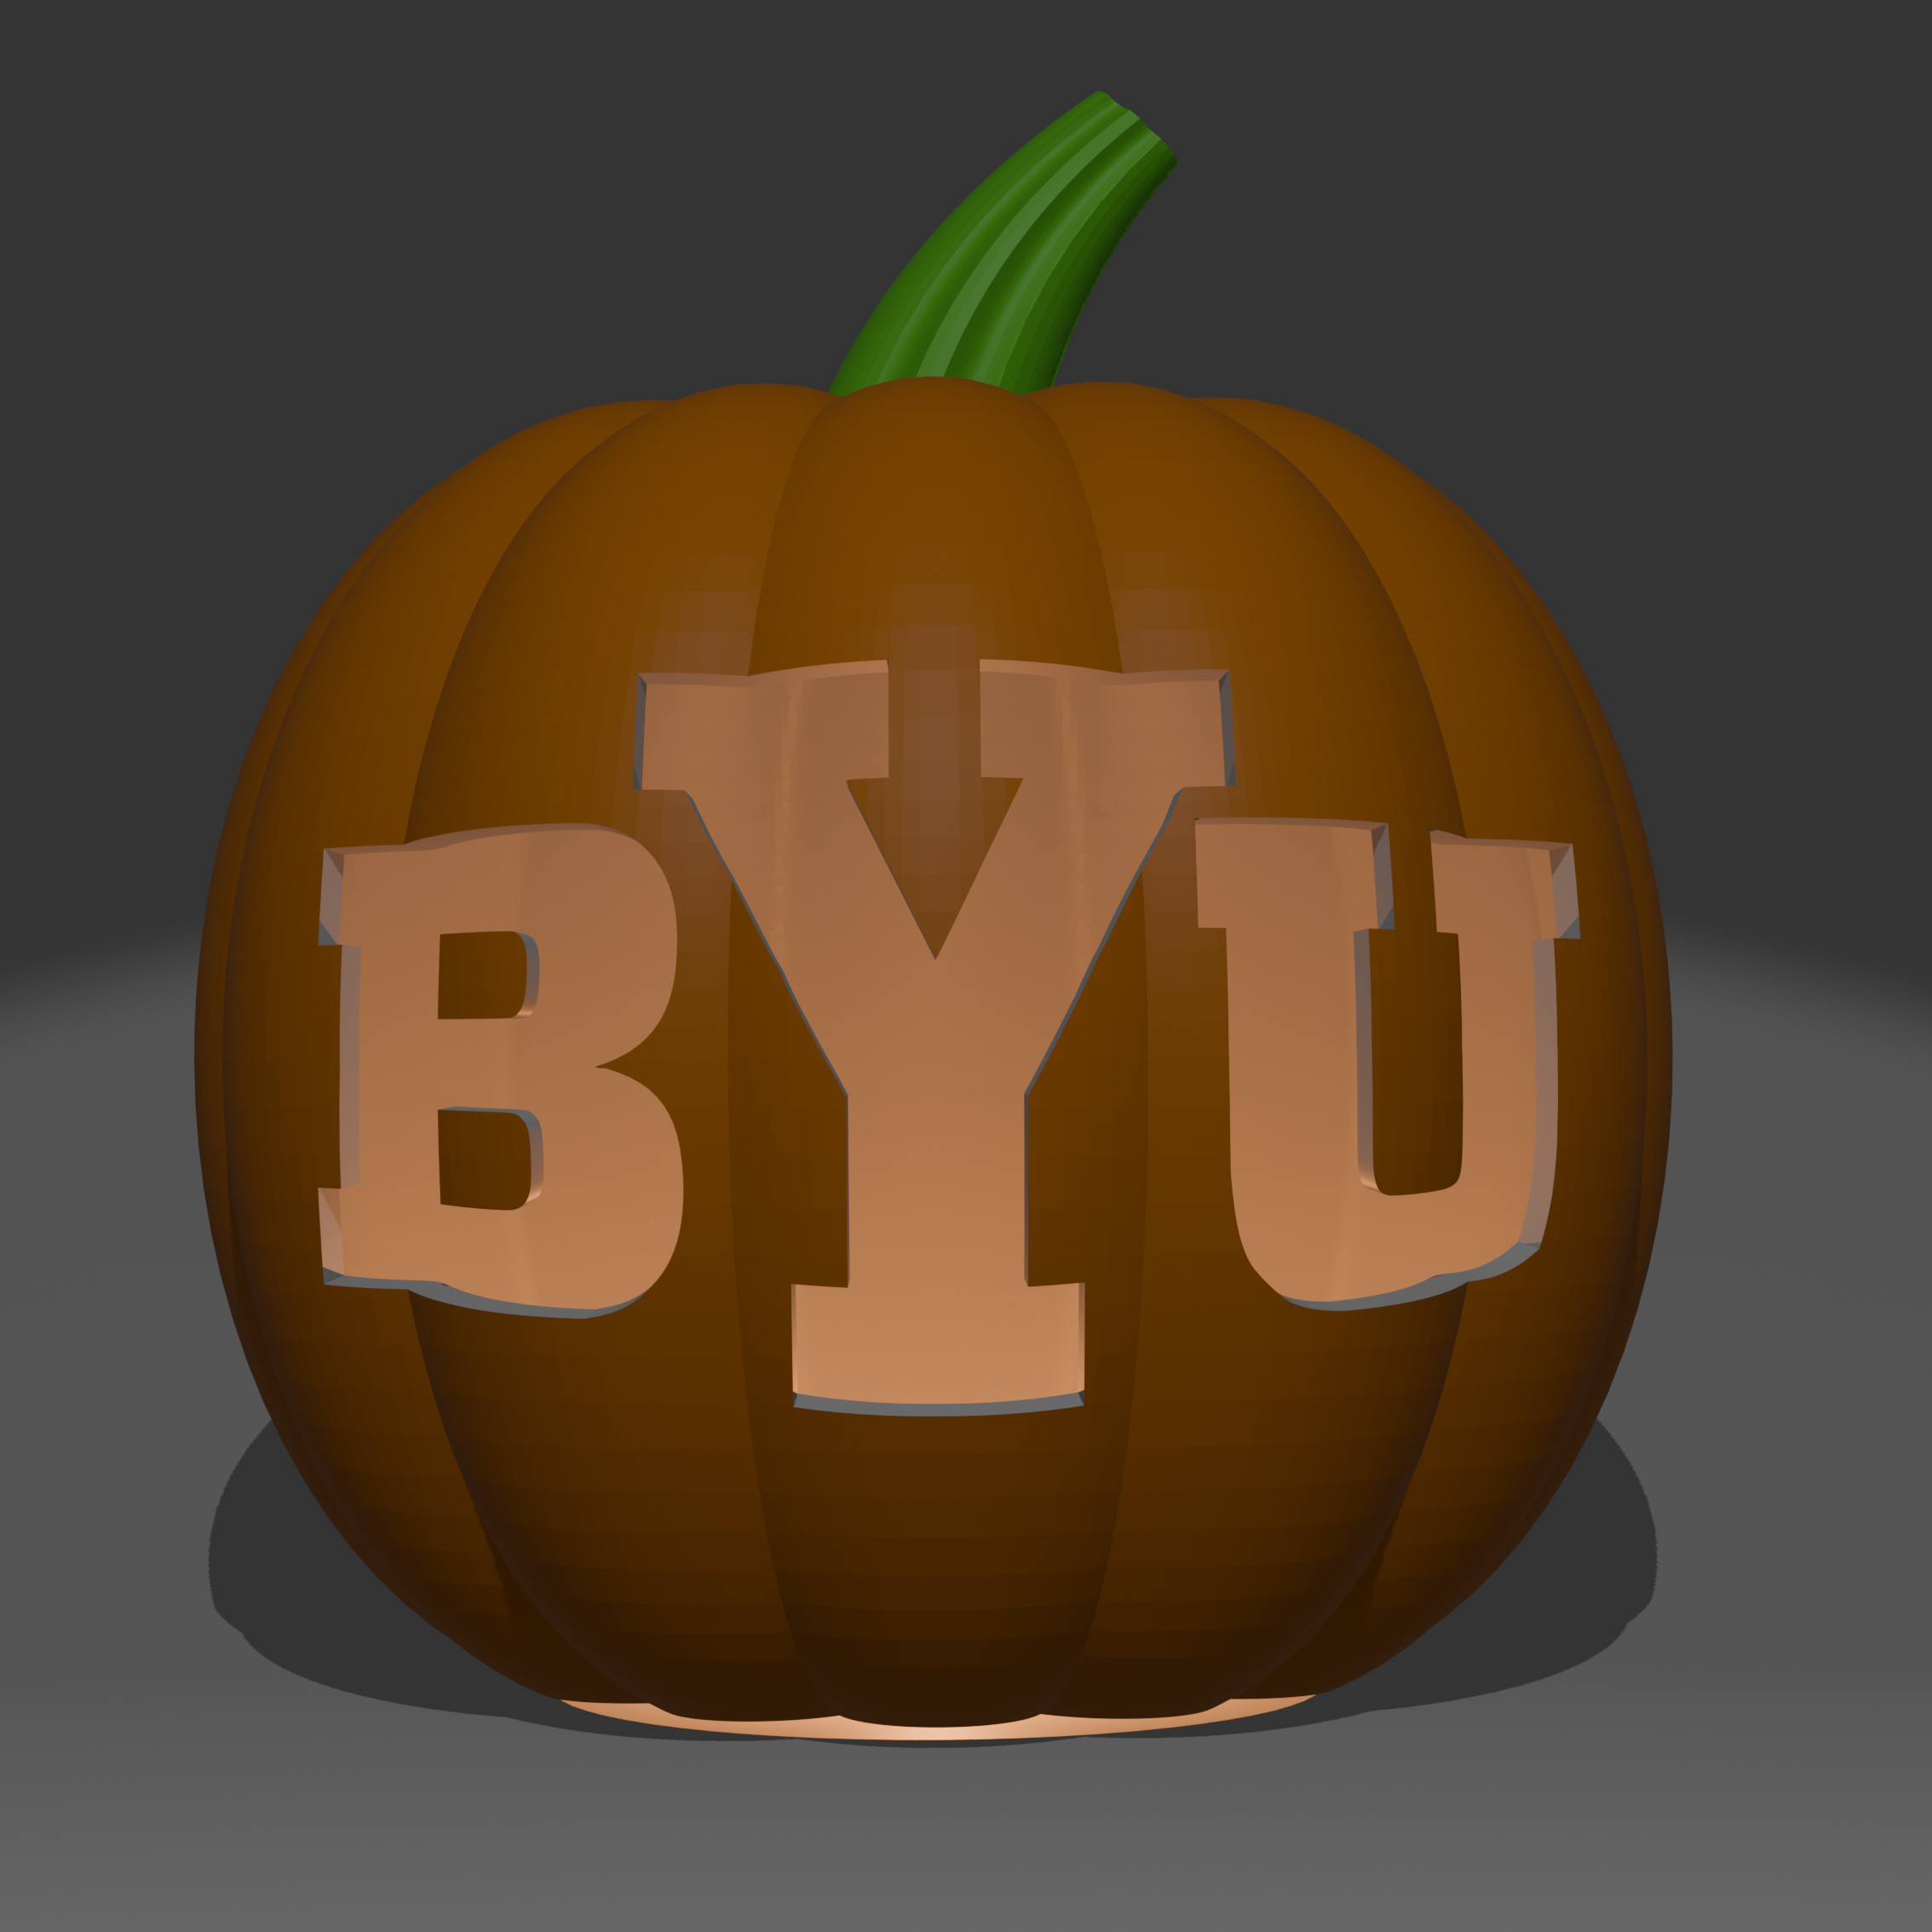
As you can see, the holes inside the 'B' are floating which creates an object that couldn't possibly exist in real life, so they were removed from the model before 3D printing. And even though the some sacrifices must be made to make these models possible to print, they can usually look good enough because the 'B' still looks like a 'B' even without its holes. It is also possible to add lines to support the floating regions much like what stencil letters do but I opted not to do it in this example.
¶ Step 2: prepare an SVG file for tinkercad
Most images that people encounter are bitmap images like .jpg or .png. A bitmap image stores the image as colored pixels in a grid. While this is easy for the human eye to see and understand, computers have a much harder time understanding their shape. So we need to convert it to a vector graphic, or .svg file. A vector graphic saves an image as lines and curves - essentially instructions the computer reads to draw the image. These are much easier for the computer to use because the edges of the image are clearly defined lines instead of pixels arranged in a line.
To prepare an SVG file, we will need a vector graphics editor. I like to use Inkscape because it is free and easy to use, but Adobe Illustrator could also be used. Please beware that other drawing apps like Procreate or Canva either do not support exporting as SVG (or at least without paying) or create SVG files that have issues with TinkerCad until they are cleaned up with Inkscape.
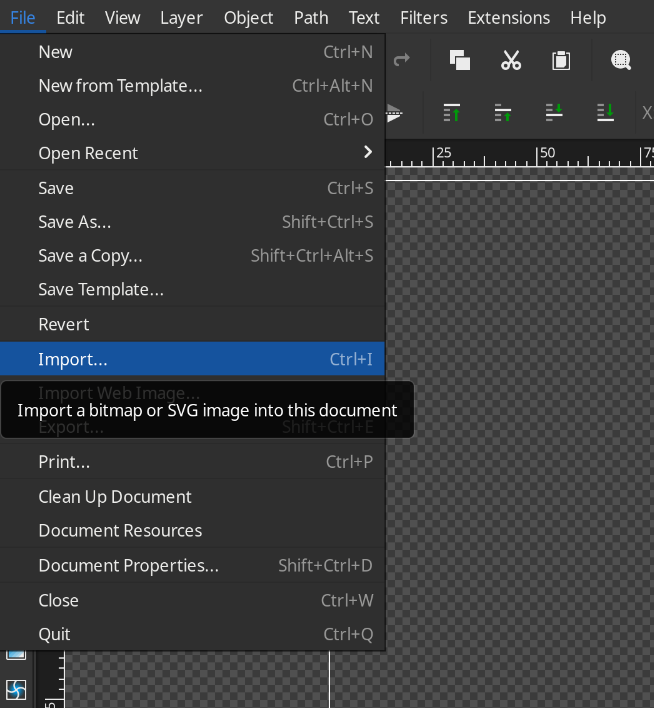
To start, take your image file and import it in to Inkscape using File > Import
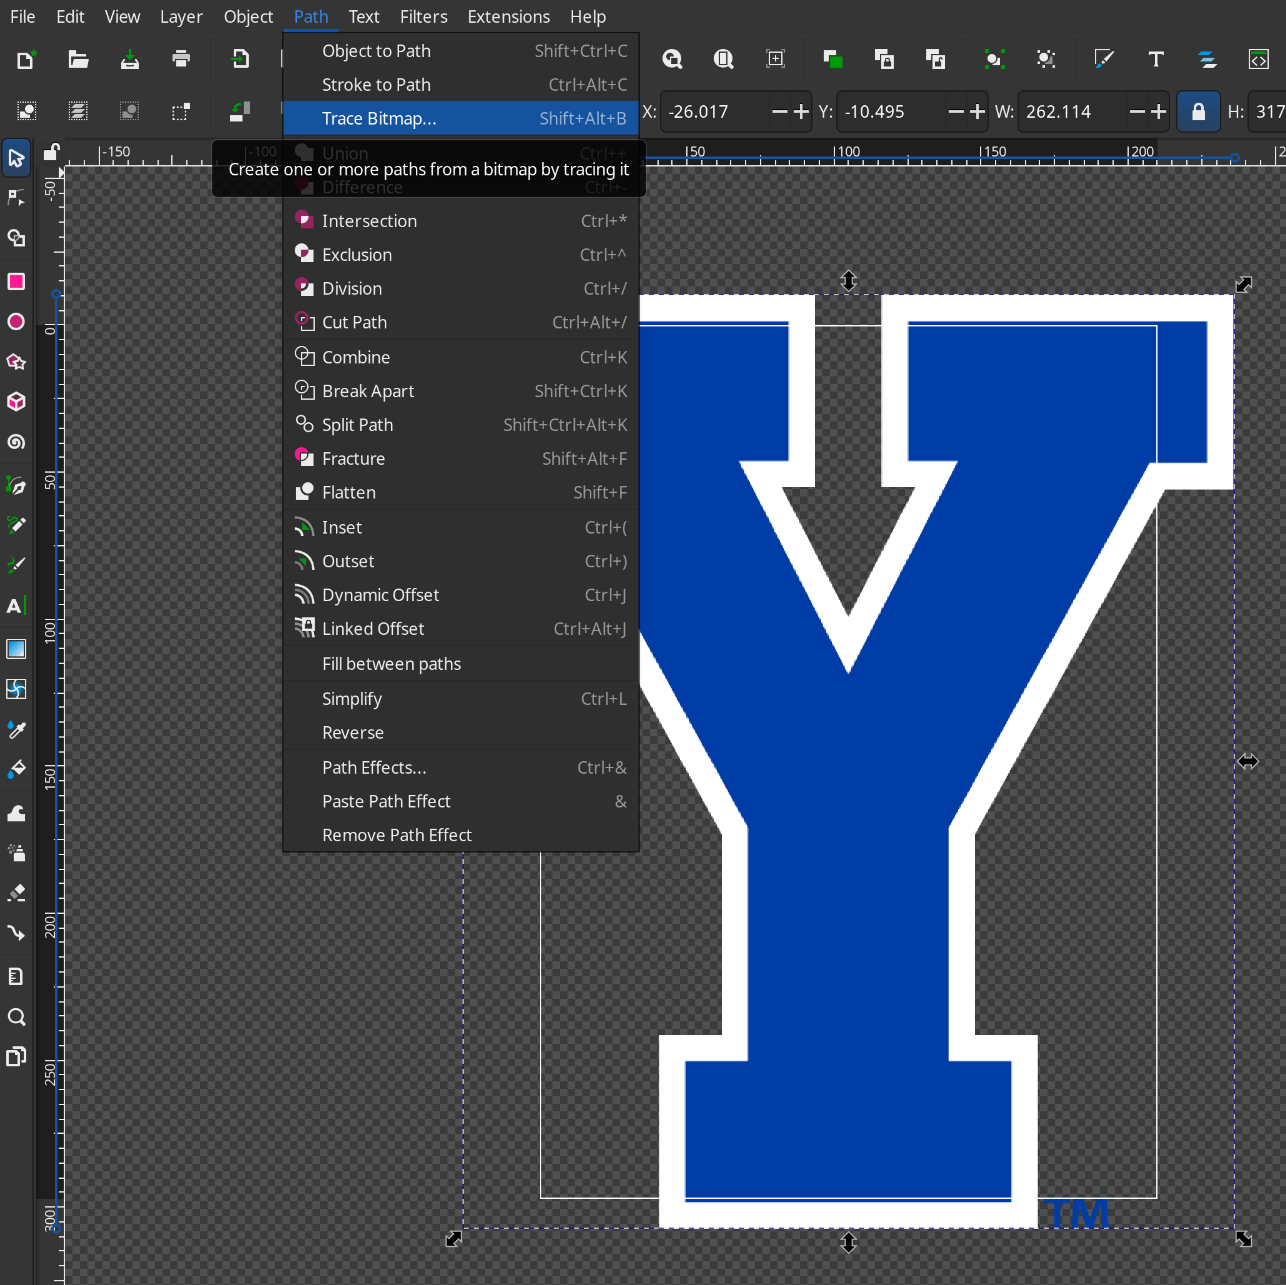
Then Navigate to your image file and select it. If any menus appear during importing, just select 'OK'. Once your image is imported, click on it to select it, and use Path > Trace Bitmap
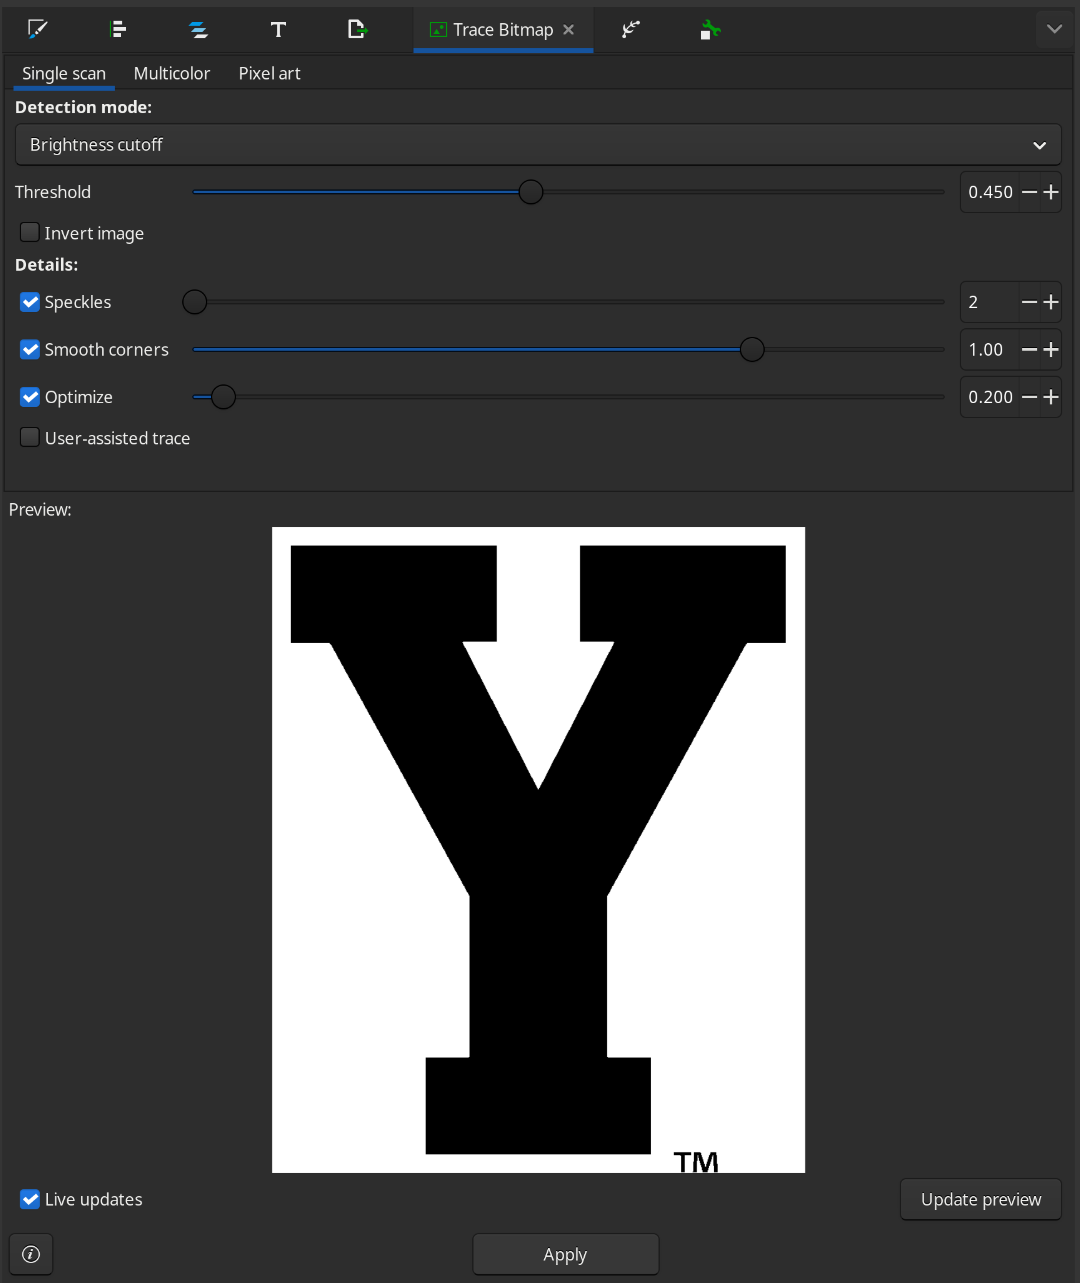
This will open the menu shown below, and present you with several settings and show you a preview. Usually the default settings should work just fine, but if the preview looks wrong, try adjusting the threshold slider
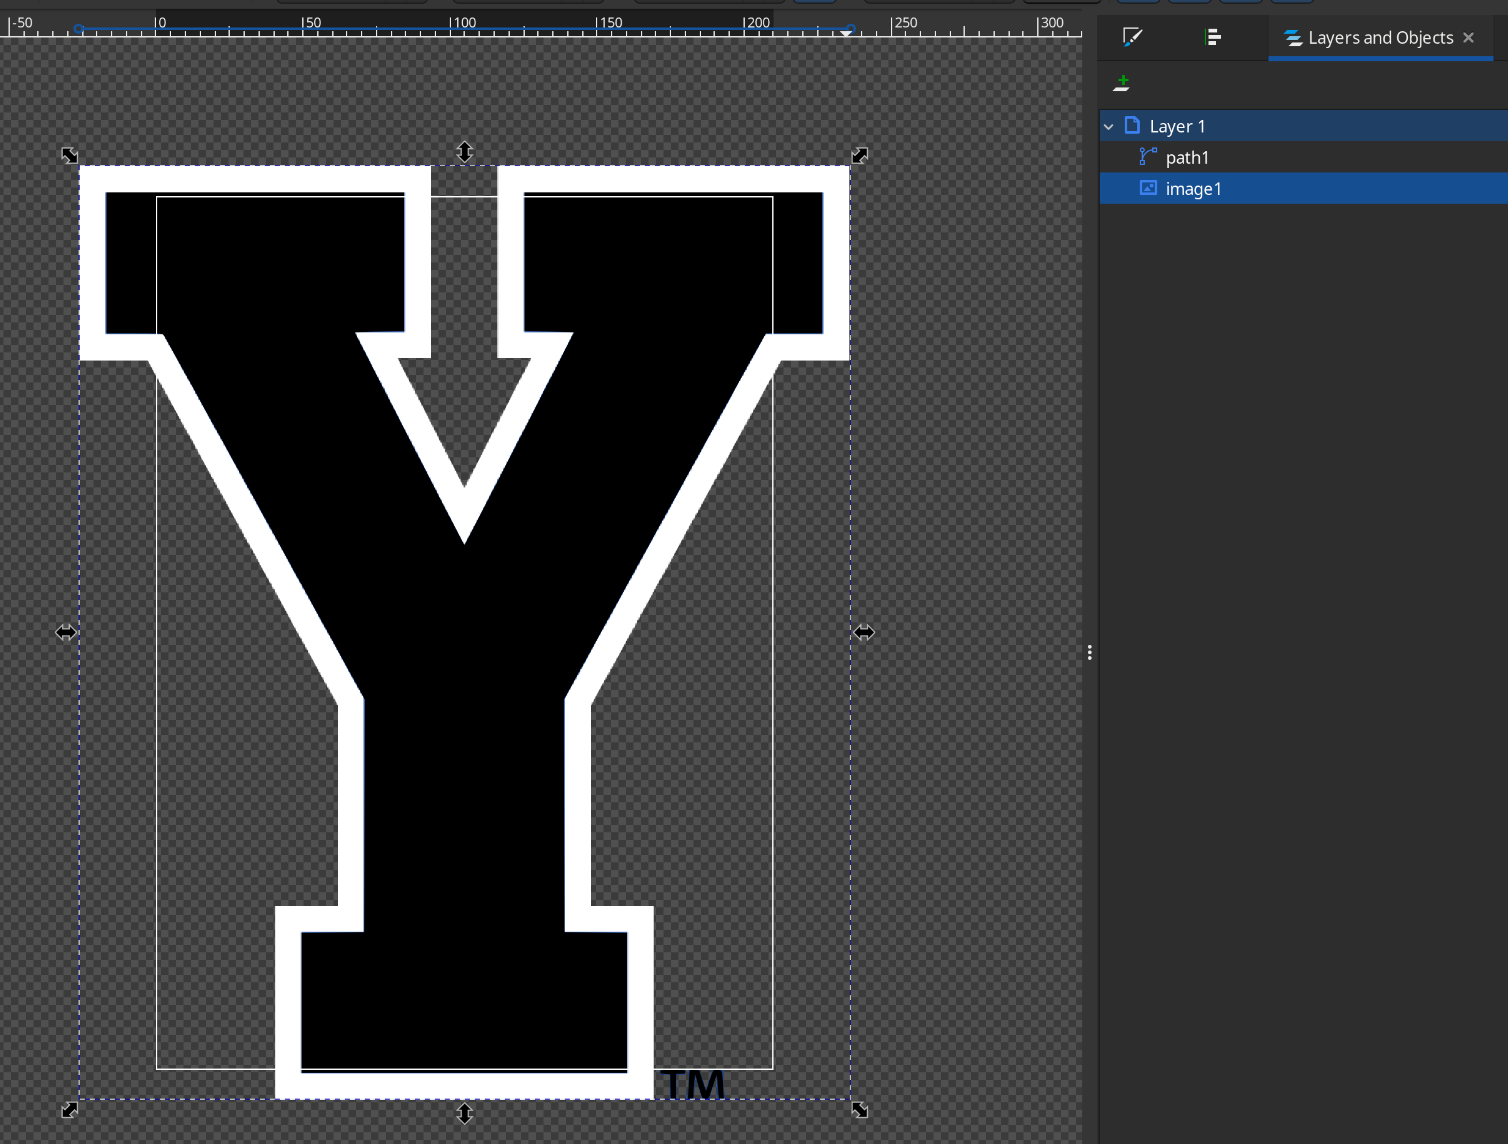
When the preview looks decent, click apply. Then delete the bitmap image by selecting the image in the layers menu shown below and pressing the delete key.
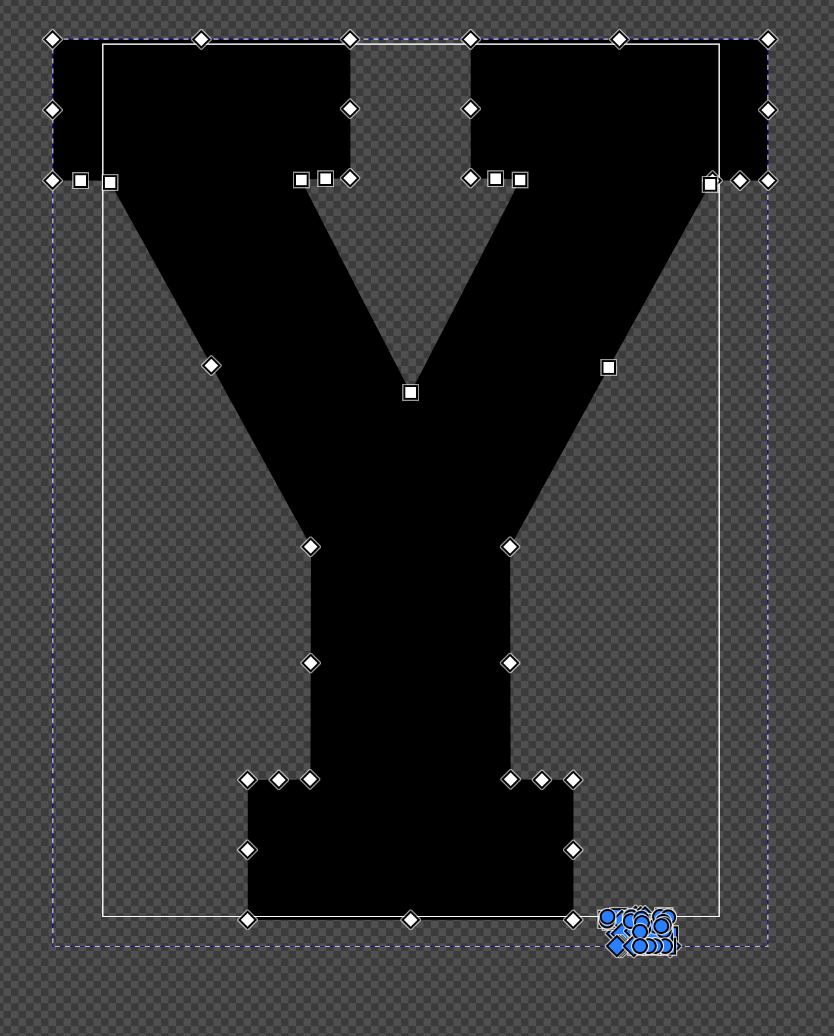
If the image has any geometry to be removed (such as the 'TM'), select the path object, press the 'N' key to open the node editor, and select all the nodes to delete with the mouse by holding down the mouse to draw a rectangle over the nodes to be deleted. Then delete the selected nodes by pressing the delete key.
Then use File > Save to save your SVG file in a place you will remember and your image is now ready to use in TinkerCad for carving the Pumpkin.
Note: If there are issues with the geometry generating after doing the cutting operation in the next step in TinkerCad, you may consider using Path > Simplify (or CTRL L) to reduce the number of nodes in the SVG at the cost of potential minor distortion. However, simple shapes like the one above likely won't have errors.
¶ Step 3: Carve the Pumpkin in TinkerCad
I have created a template project in TinkerCad that contains the Pumpkin 3D model that you will carve. Open that project, save a copy, and open your copy.
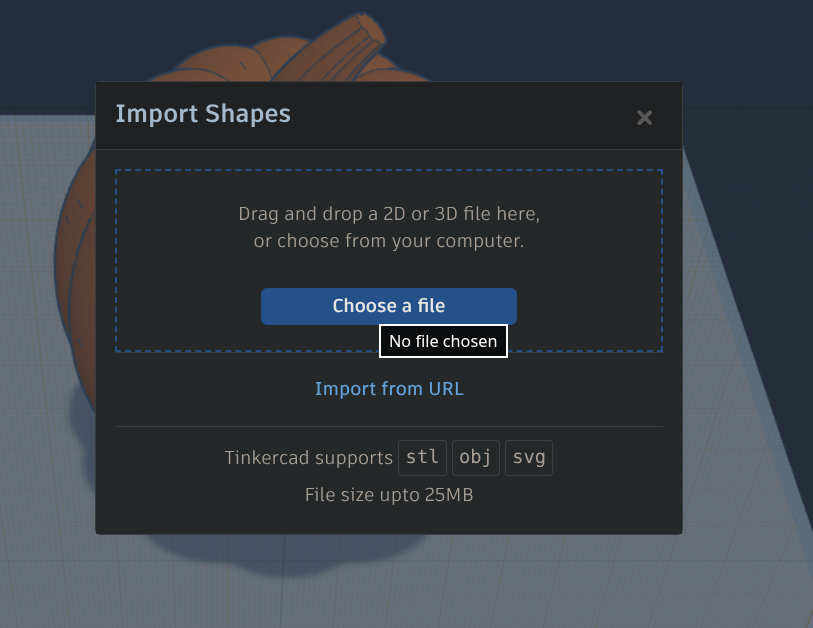
Once you have your copy open, you will import your SVG file by clicking the import button and navigating to your .svg file.
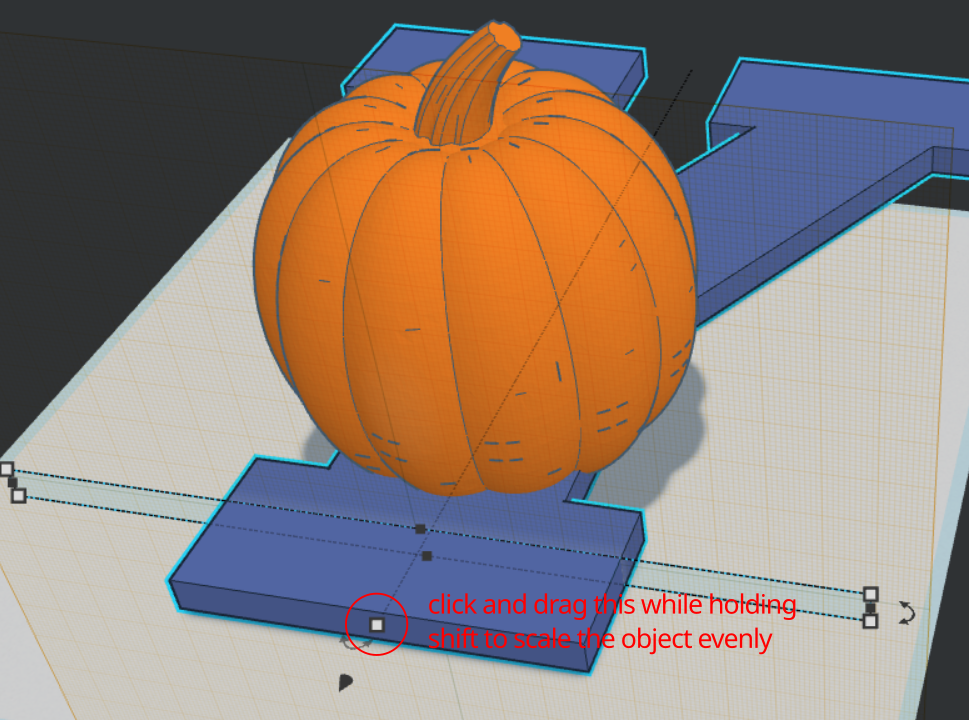
When the svg file finishes importing, there is a good chance it will be the wrong size. Click the handle shown below and drag it to scale the object. Note that it will not scale evenly unless you hold the shift key while doing it, so make sure to use hold the shift key while scaling.
Dragging the object not on any buttons or icon will move the object along two axis, which sometimes are not the same axis as the default work plane. To move the object along its third axis, there is a separate button to drag as shown below.
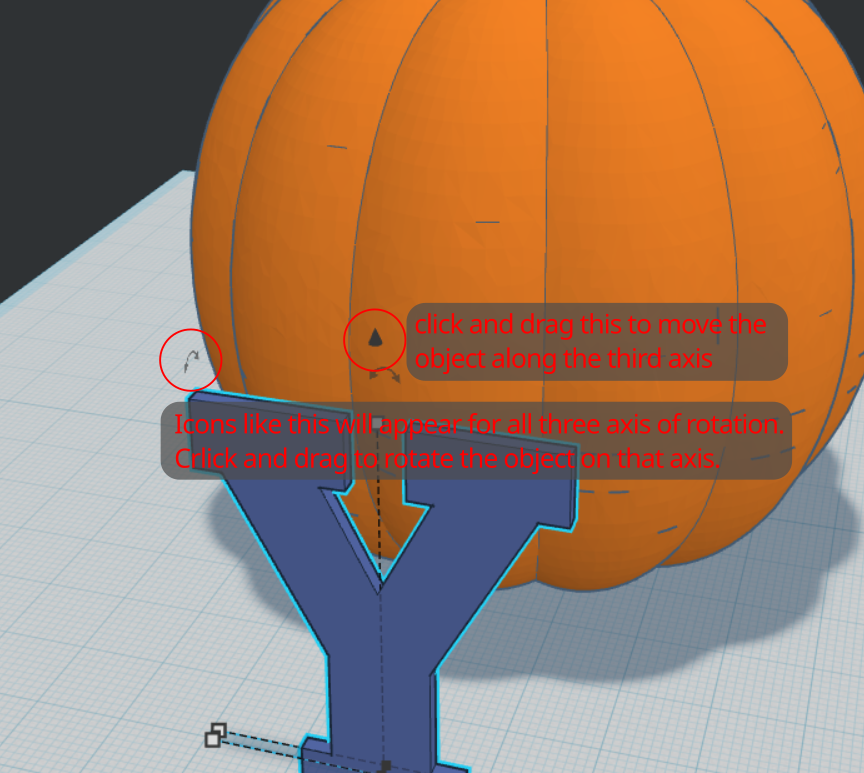
You will also want to rotate the image object so it is in the right orientation to cut into the Pumpkin. Clicking and dragging the other icon shown above will rotate the object along an axis. Holding shift will constrain that rotation to 22.5 degree increments so you can rotate it a perfect 90 degrees.
Once you have the image object in the right orientation, position, and scale on the pumpkin, you will need to make sure it is thick enough to cut all the way through it. For example, in this image below, part of the 'Y' object is still inside the pumpkin object, so it will not generate the cut properly.
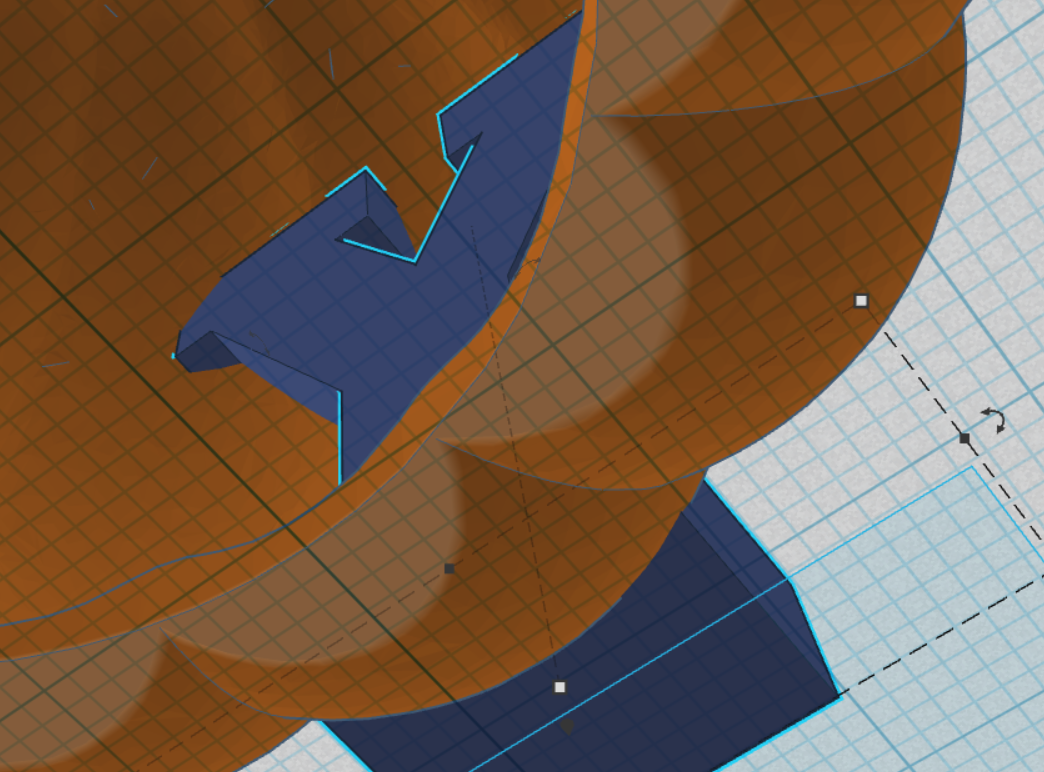
To fix this, drag the handle below to scale the object along an axis that will make it cut all the way through, as shown below:
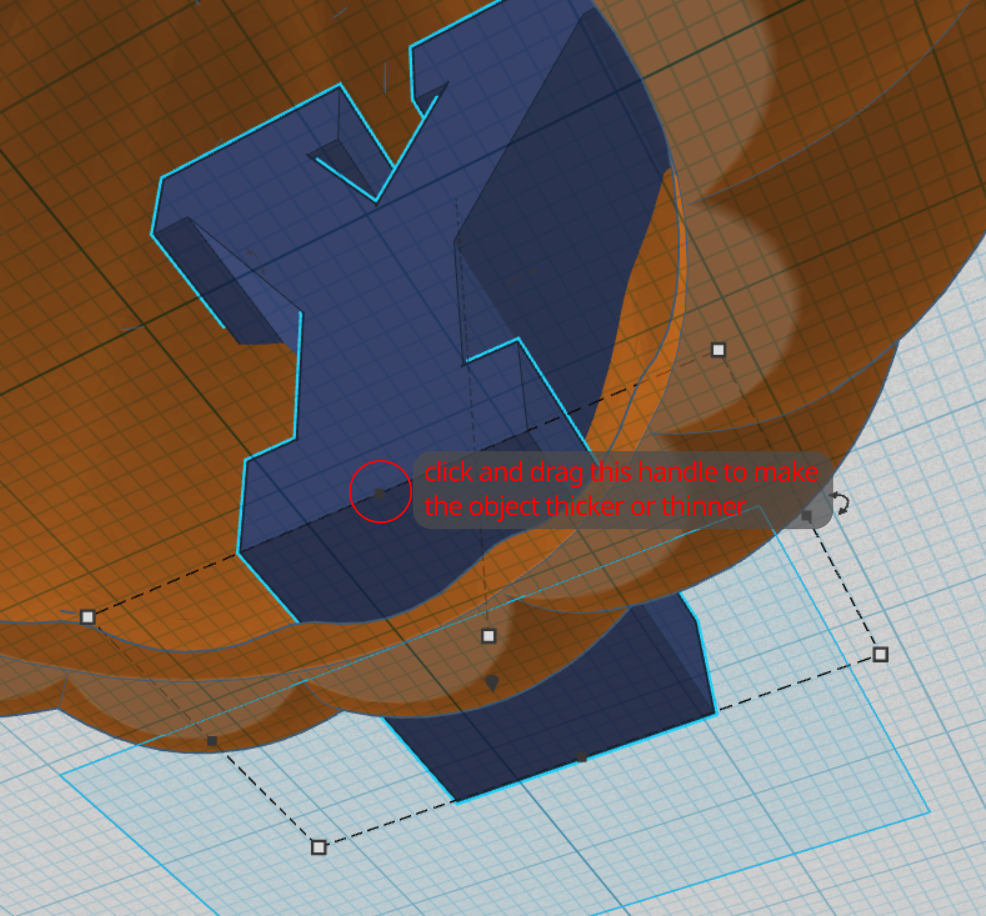
Once the object is set in place, you will need to change it from 'Solid' to 'Hole' as shown below. This tells TinkerCad to make that object cut into the other when performing boolean operations instead of adding to it.
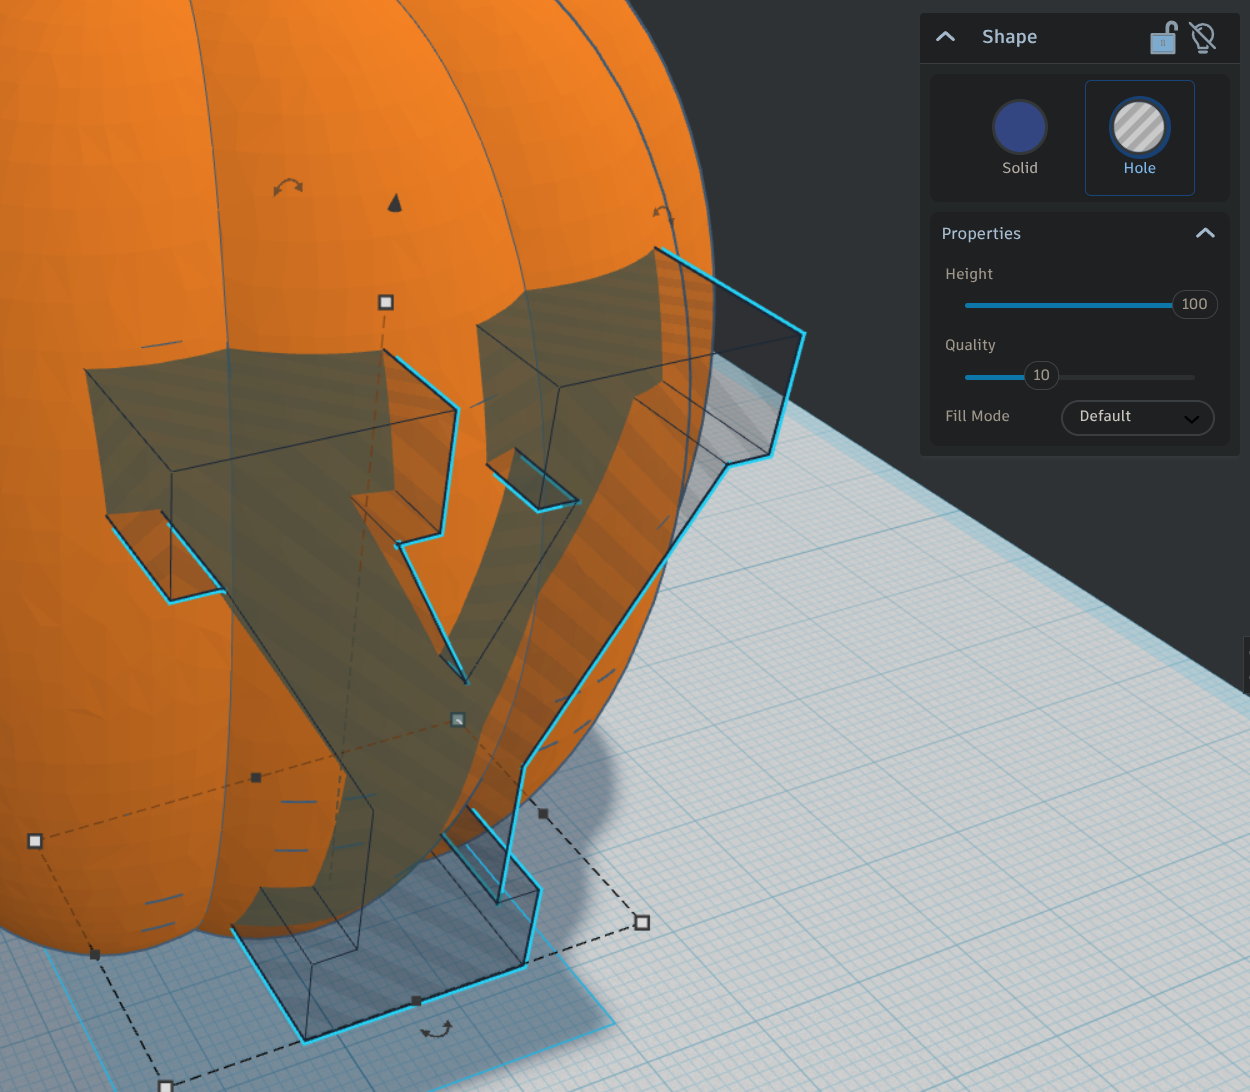
Once the cutting object (the 'Y') is set to Hole, select both objects and click the Boolean button shown below to apply the operation
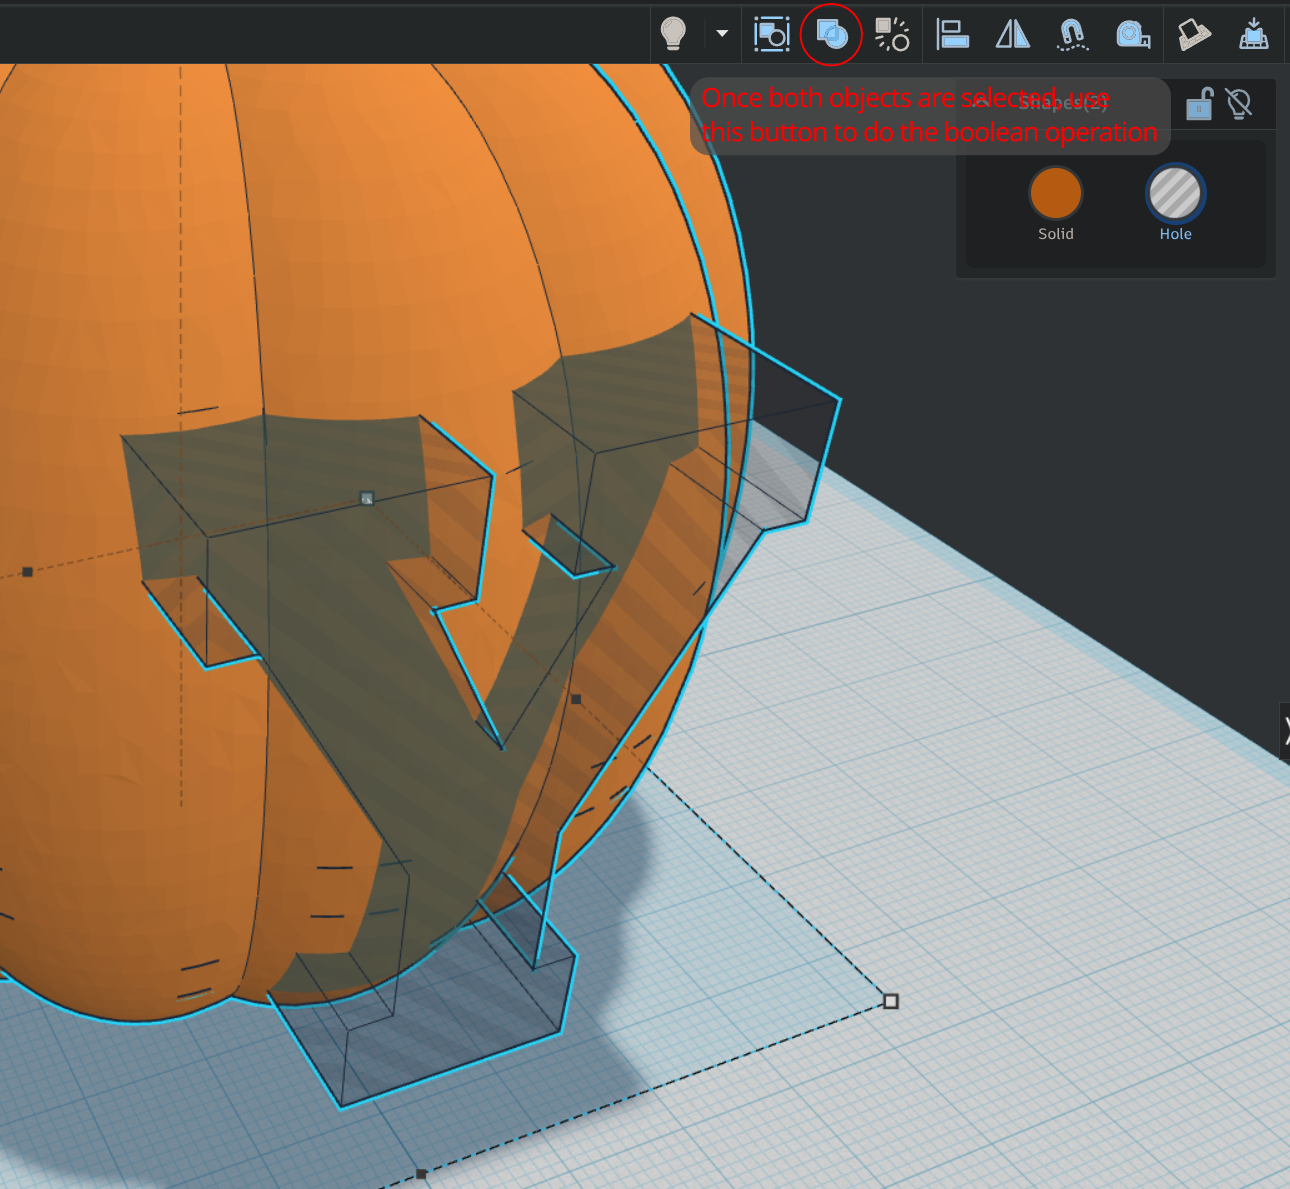
The model is now finished, and is ready to export.
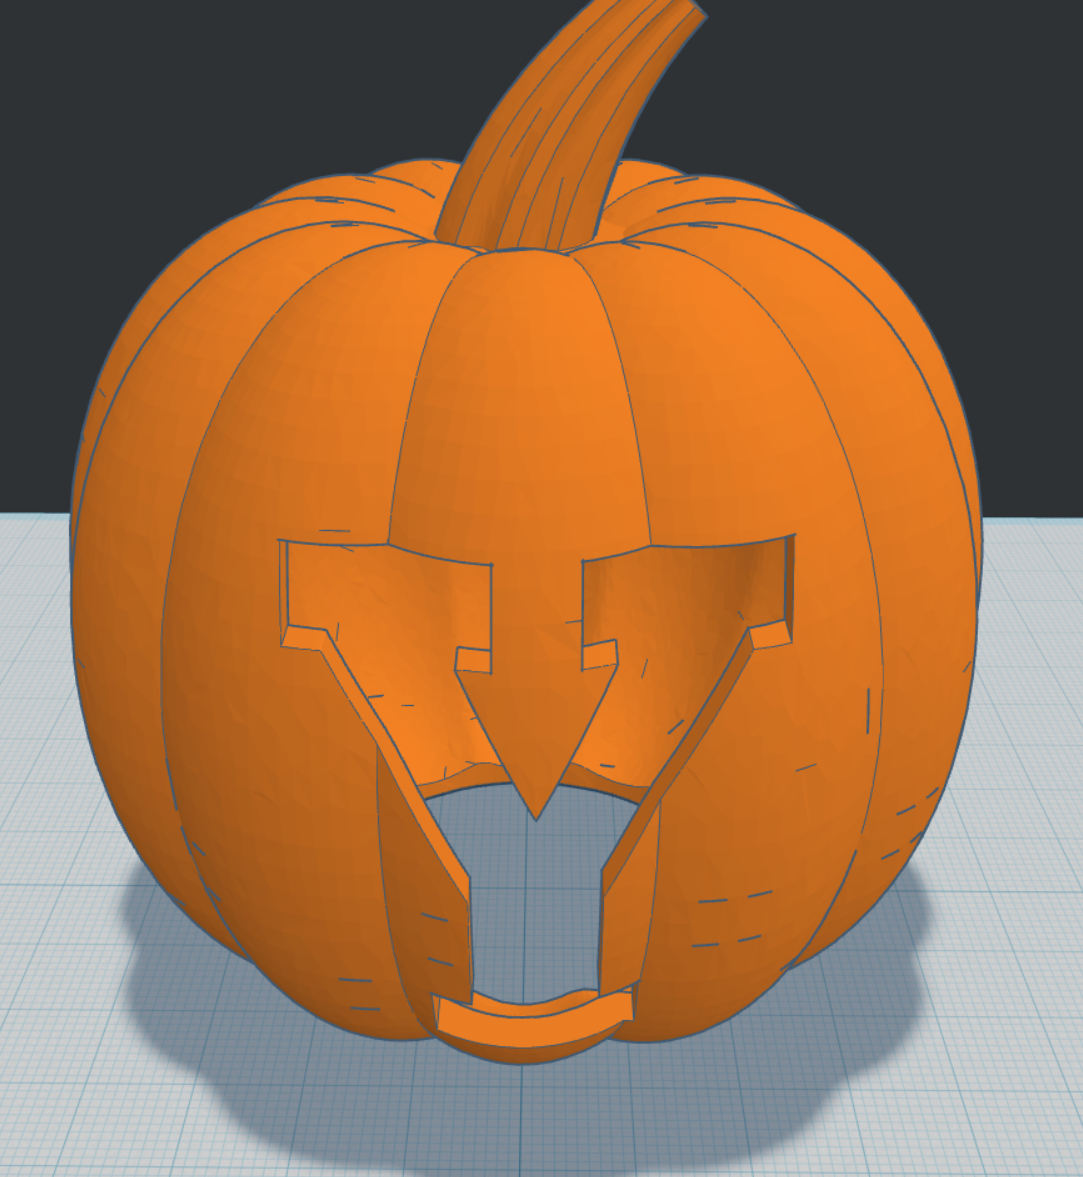
Find the 'Export' option in TinkerCad to export the model for 3D printing, and use the option to export as .stl.
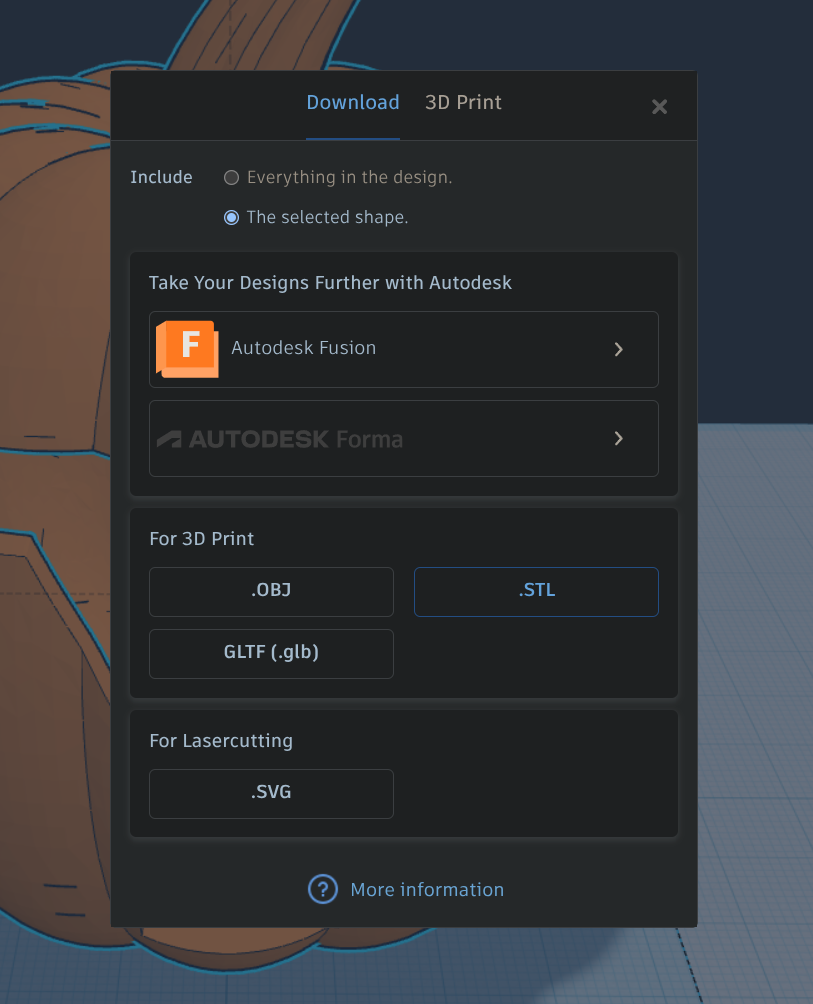
With the .stl 3D model prepared, you are now ready to 3D print your own carved pumpkin.
¶ Step 4: model printing and processing
This print profile has all the necessary print settings (link print profile). Open it and import your .stl model. Optionally, you can try to paint the stem a different color before printing.
When the model finishes printing, be careful not to break any of the smaller details like I did with the 'BYU' example when removing the support material.
Then place a battery powered tea light inside and your digitally carved pumpkin is finished!